The Idea
The other day, I came across this article on hackernoon.com, and I was fascinated by the part about using a Raspberry Pi to run Kali Linux from inside my backpack. So, I decided to see if I could set it up for myself.
Necessary Equipment
I used the following for the setup:
- Laptop running Windows 11, PuTTY downloaded for SSH connection
- Rufus for Windows
- Raspberry Pi 4 from Amazon.com. I used this kit, but you can just use the board as well to save money
- MicroSD card
- Card Reader (I used the one that came in the Raspberry Pi kit)
- Kali Linux ARM Image
- Anker portable USB charger
- USB-A to USB-C cable to attach the power supply
- Short Ethernet Cable
- Ideally, a portable power block that could run both laptop and Raspberry Pi (I didn’t want to buy one)

Loading Kali Onto The Raspberry Pi
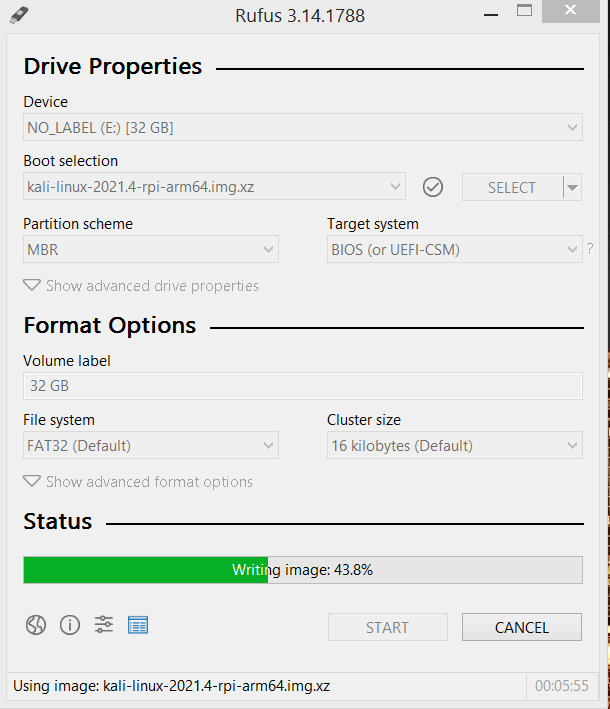
Kali Linux ix available in an ARM that is suitable for Raspberry Pi. It can be downloaded at https://kali.org/get-kali/. Once you’ve downloaded the image, put a new MicroSD card into the reader and plug the reader into the USB port of the Windows computer:

Next, open Rufus as administrator and select the card and the ARM image. Click start and let the image load. When finished, eject the card and put it into the Raspberry Pi. This needs to be done with the Raspberry Pi still connected to a monitor, mouse, and keyboard, as further configuration will be needed.
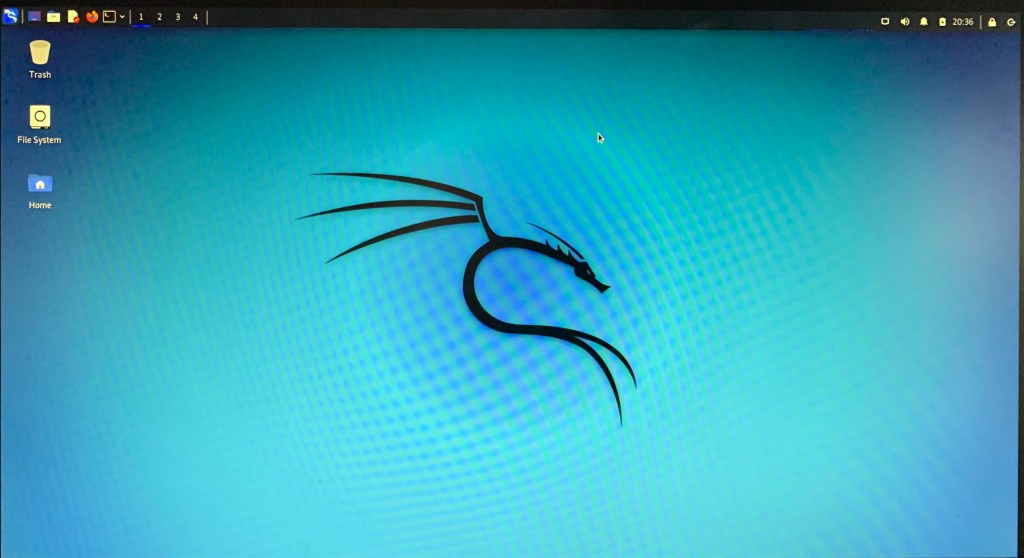
Start up the Raspberry Pi. You should see the following screen as Kali loads:

Raspberry Pi Setup
The most challenging part of this project was getting the Pi setup so that I could SSH into it from my laptop. There are several steps that need to be taken. First, update Kali using the command line:
sudo apt-get update
Next, download open-ssh server:
sudo apt-get install -y openssh-server
Now, we have to make a change to the openssh config file:
sudo nano /etc/ssh/sshd_config
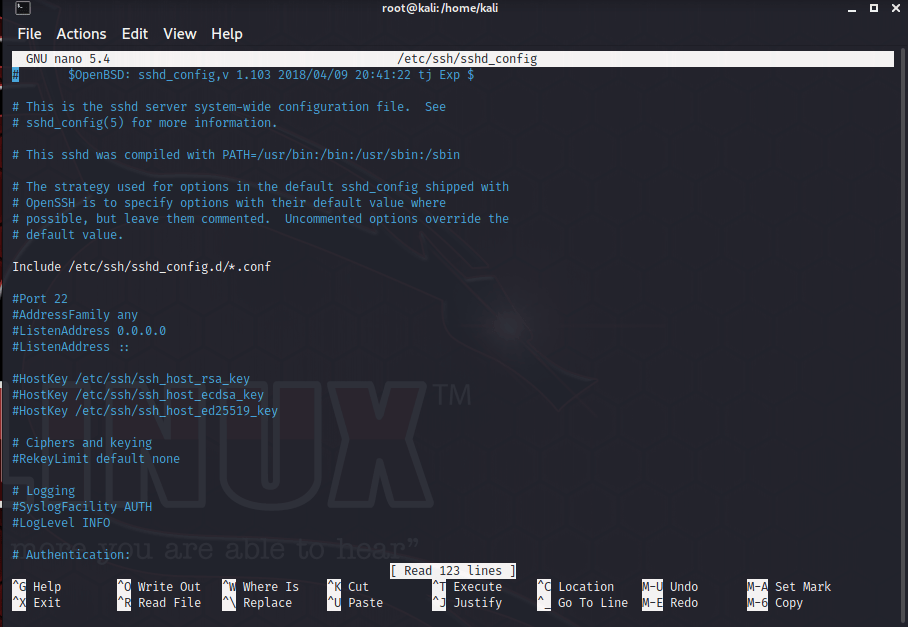
Although I found several recommendations for config changes, the only changes I made were to uncomment (delete the #) “PermitRootLogin” and “PasswordAuthentication yes.” I did this to keep the ssh process simple. I did change the root password on Kali with the following command (done as root user):
passwd root
Now, restart the ssh service with
sudo service ssh restart
I also wanted to be sure that the ssh server is enabled at startup, so I used the following commands:
sudo systemctl start ssh
sudo systemctl enable ssh
Now, be sure to run ifconfig on Kali to get the IP address so you can access it via ssh. Keep in mind that this is only to test the connection. In real life, you might not know the IP address on Kali, so you’ll need to use nmap to scan the network, or possibly a network analyzer app.
One final note before moving on: if you want to have a secure ssh connection, you will need to change the default ssh keys and do some reconfiguring of the server. This link will show you how to configure this.
SSH Into Kali Using PuTTY
Now, you can disconnect all the peripherals from the Pi and attach the portable charger. The Anker charger worked flawlessly for this project. Attach the network cable to the Pi and the laptop. Once the Pi is powered up, you should be able to ssh into it from PuTTY on the laptop:
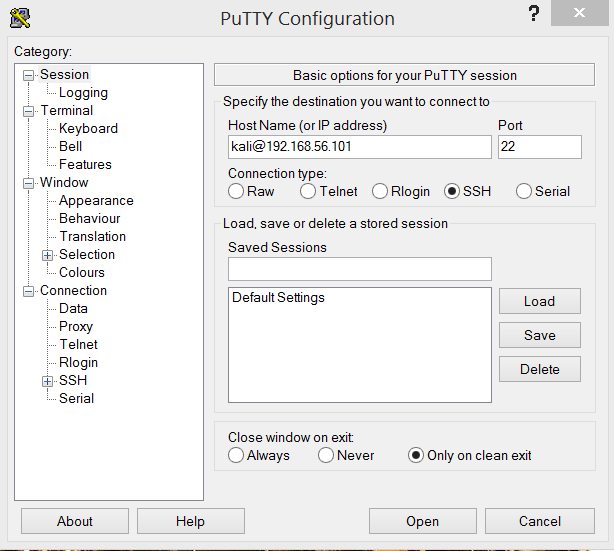
Follow the prompts and enter the new password you generated. If you want a GUI, you could use RDP as well. Just open your start menu and type “remote desktop connection,” and open the app:

Keep in mind, though, if the objective is to be stealthy, having Kali open on your laptop might seem obvious…
Sources:
- https://medium.com/@protorix/beginners-guide-to-install-kali-linux-in-raspberry-pi-ecd0ec9cd7aa
- https://lawrencesystems.com/how-to-use-kali-linux-on-raspberry-pi-4-as-a-remote-network-access-and-nmap-discovery-audit-tool/
- https://hackernoon.com/inside-a-hackers-backpack-gadgets-tips-and-tricks-for-hackers-5i6b31ie
- https://null-byte.wonderhowto.com/how-to/set-up-headless-raspberry-pi-hacking-platform-running-kali-linux-0176182/
