
Virtualization Basics
If you do a google search for setting up a virtual machine on Virtualbox (or any other hypervisor), you’ll find that the subject has been covered many times. So, why cover it again? The answer is simple: if you are trying to learn cybersecurity, virtualization is probably the most basic and useful tool available to you.
Virtualbox allows you to run multiple versions of Windows and Linux ditros on your host computer, saving you from having to invest in the large amounts of hardware and software you would otherwise need. As for the host computer (the computer on which you install Virtualbox), a good bit of RAM and a large HDD or SSD is ideal. For this post, I’m using my laptop running Ubuntu linux 20.04. I have 16 gigabytes RAM and a 1T hard drive, which is adequate.
Installing Virtualbox
Virtualbox can be downloaded from https://www.virtualbox.org. Be sure to also scroll down and download the extension pack. For Ubuntu, you can install VirtualBox from the Ubuntu Software store, or by using the following commands:
sudo apt-get update
sudo apt-get install virtualbox
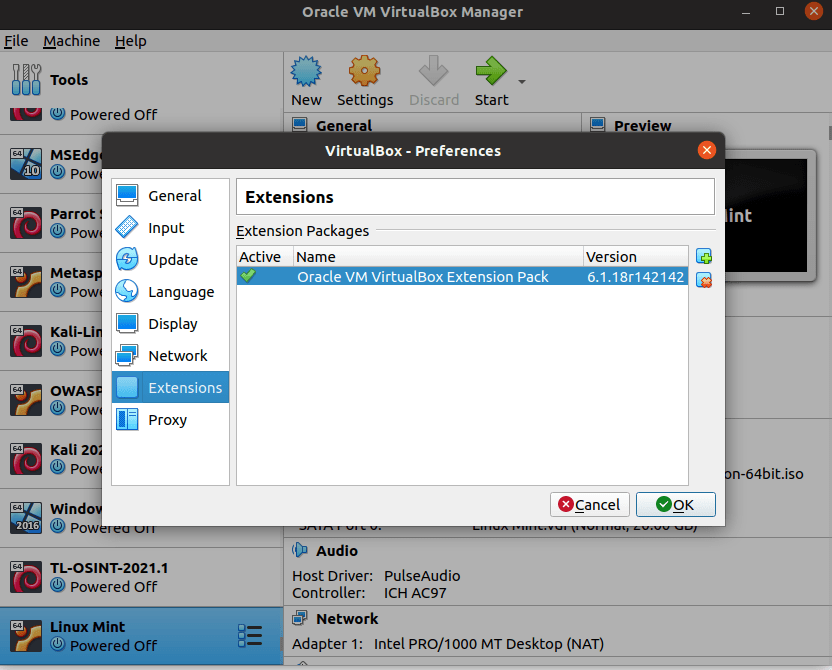
I recommend you install Virtualbox from the Virtualbox website, though. I have had issues with a version I got from the repository. After downloading, verify your installation and install Virtualbox. The extension pack should install automatically after download. You can verify that the extension pack is installed by going to Preferences-extensions:
Installing a Virtual Machine
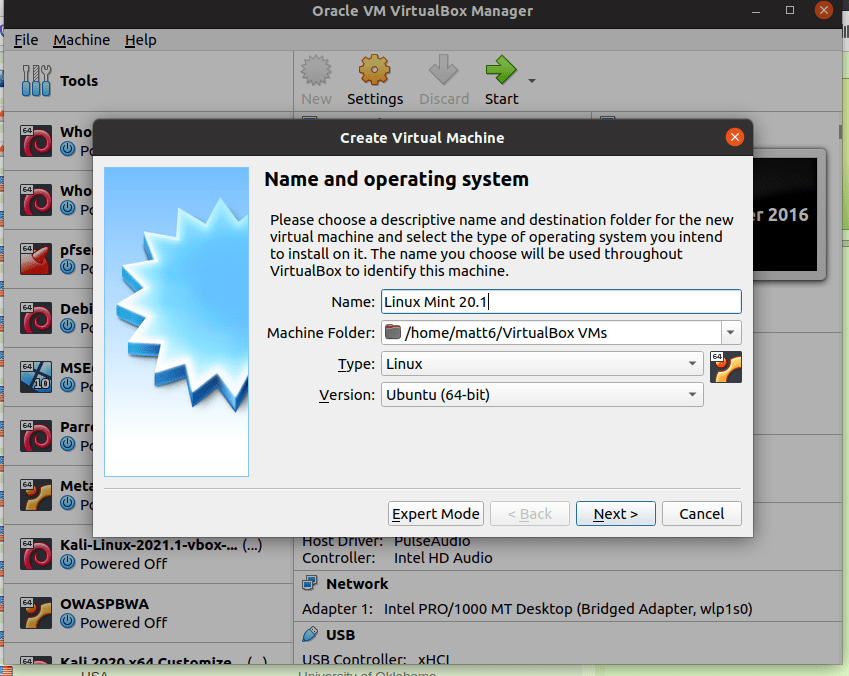
To install your first virtual machine, go to the website for the operating system you want to install. Find the most recent .iso image and download it. In this example, I’m going to use Linux Mint, a popular linux distro.

In virtual box click “New.” Then enter the name of the OS (Linux Mint 20.1 in this case) and choose “Linux” and “Ubuntu (64-bit), then click next.
In the next screen, you have the option to choose how much memory to allocate to your virtual machine (VM). Some VMs work better with more memory, but, since a VM uses host system resources, you have to take into account what your system has available. Although this particular laptop has 16G RAM installed, I will go with the default.

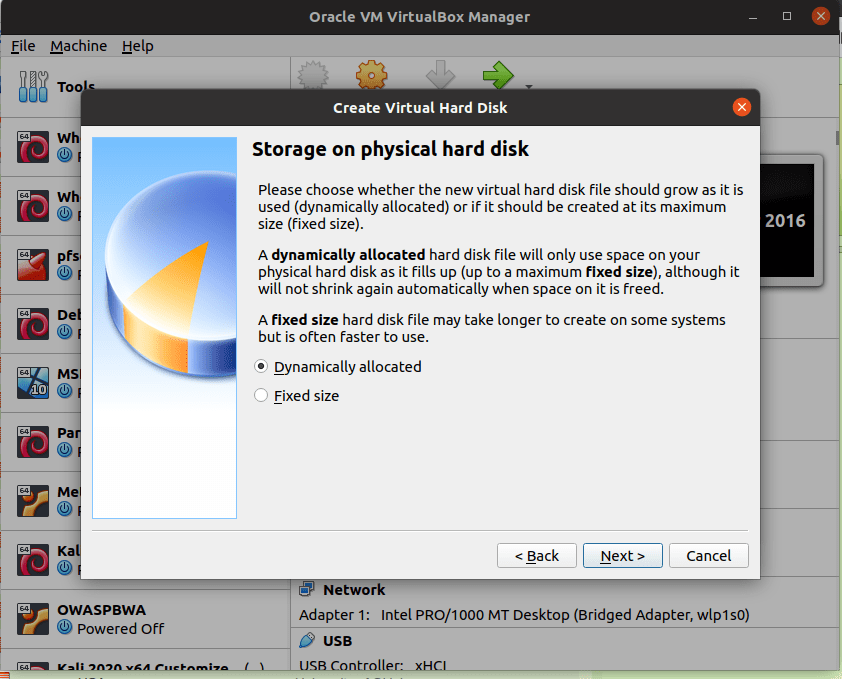
The next step is to choose a hard disk. Choose “Create a virtual hard disk now” and click “create.”

In the next screen, select “VDI (VirtualBox Disk Image)” and click “Next.”

In the next screen, choose “Dynamically Allocated,” which allows the hard disk file to grow as it is used.

Next, you can choose the size of the virtual hard disk. My laptop has 1T of hard drive space, but, once again, I’ll stick to the default here. Some VMs require increasing this, so a little research might be in order before install.
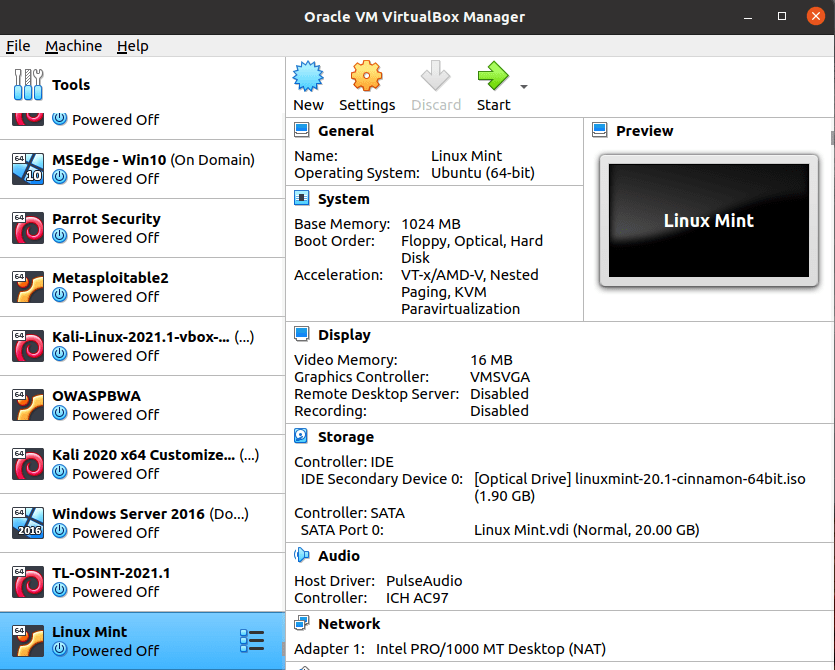
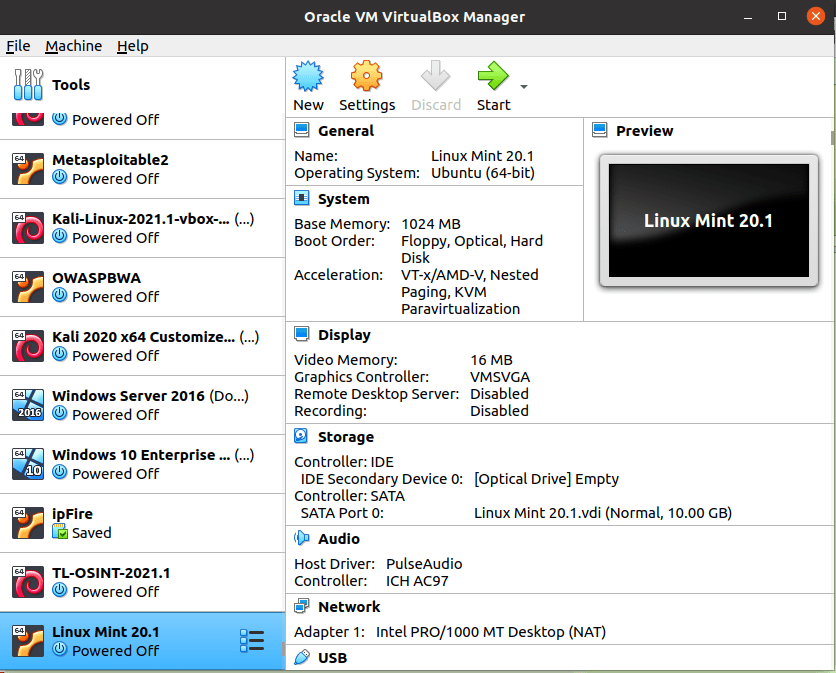
Click create, and you will be taken to the VirtualBox Manager.
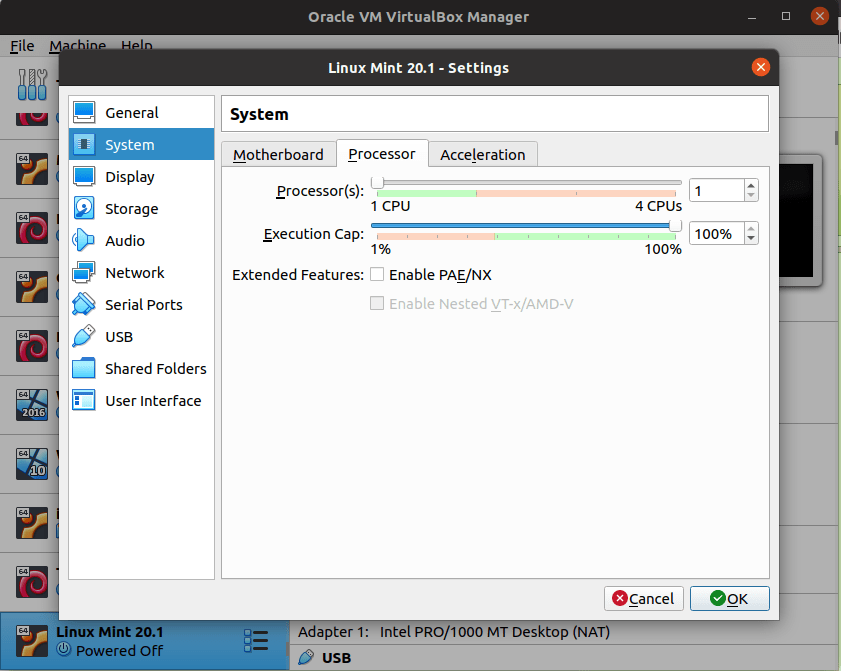
With Linux Mint highlighted, click “settings.” Here, I will usually choose the maximum number of available CPUs:
and choose a network type. Here I will choose NAT:
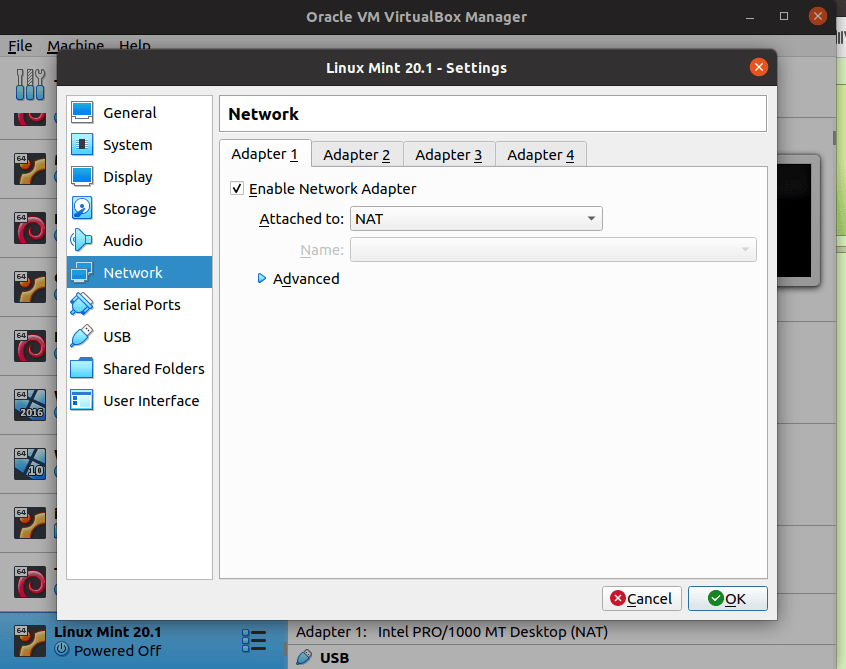
For a good description of each type of network, see https://www.virtualbox.org/manual/ch06.html.
Next, click on “Storage” and then the “Empty” controller:

Click on the optical drive symbol as shown:
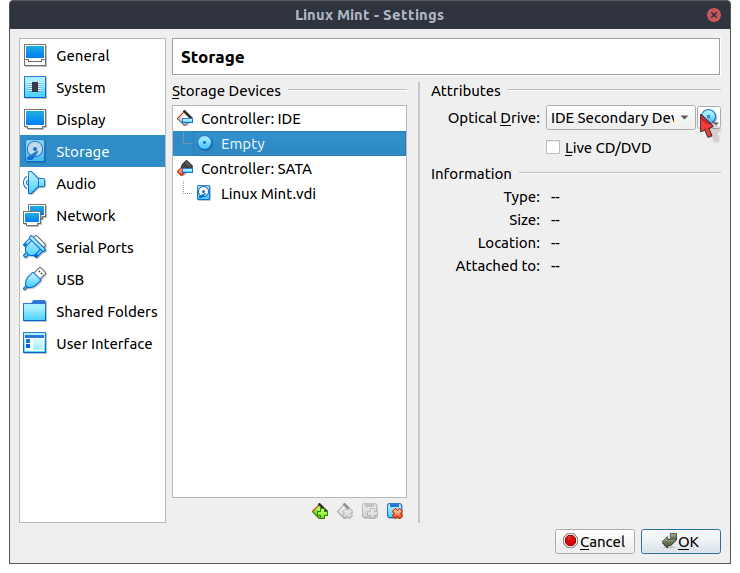
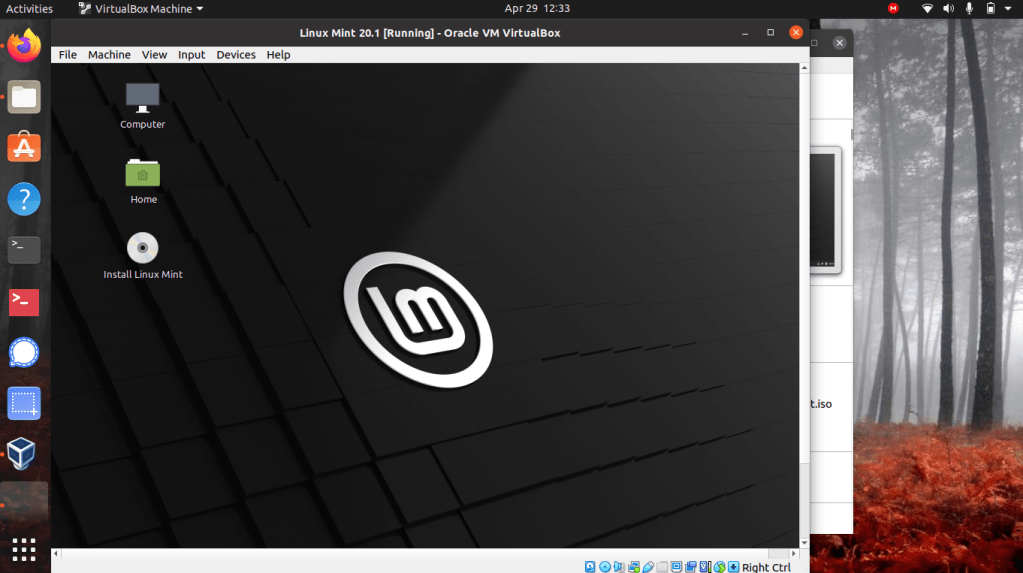
Click on “Choose/Create Optical Disk” and browse to the location where your .iso image is saved. Chooose it, then click okay. At the VirtualBox manager, click on Linux Mint to highlight it and then click start.
The Linux Mint VM will start and you will have the option to test a live version or install Mint.
Once you have gone through the install screens, be sure to remove the .iso image from the optical drive before the VM reboots or VirtualBox will reinstall the VM instead of running it. Click on “Devices,” “Optical Drives” and and then choose “Remove disk from virtual drive.”

At this point, the VM should be ready to use. For a linux disto, I usually start the VM, take a snapshot, and label it “Clean Install.” This allows me to revert to a clean version if I destroy the OS trying something new!
